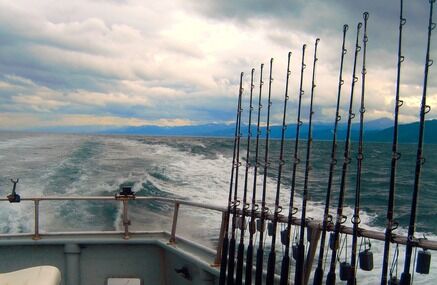
Despite the ever advancement in digital technology, traditional paper charts and celestial navigation are still being leaned towards as a fail safe option that you can always rely on if the other option fails. GPS tracking systems are fantastic, they make light work of navigating your boat, but what happens if the power goes or the equipment gets damaged? There's also nothing worse than having a sea chart to hand, but not having a clue what you're doing, and with little information or guidance around these days it can be a logistical nightmare. So to help you with those times at sea that you get caught out, here are the basics to help you plot on a nautical chart.
Plotting Tools
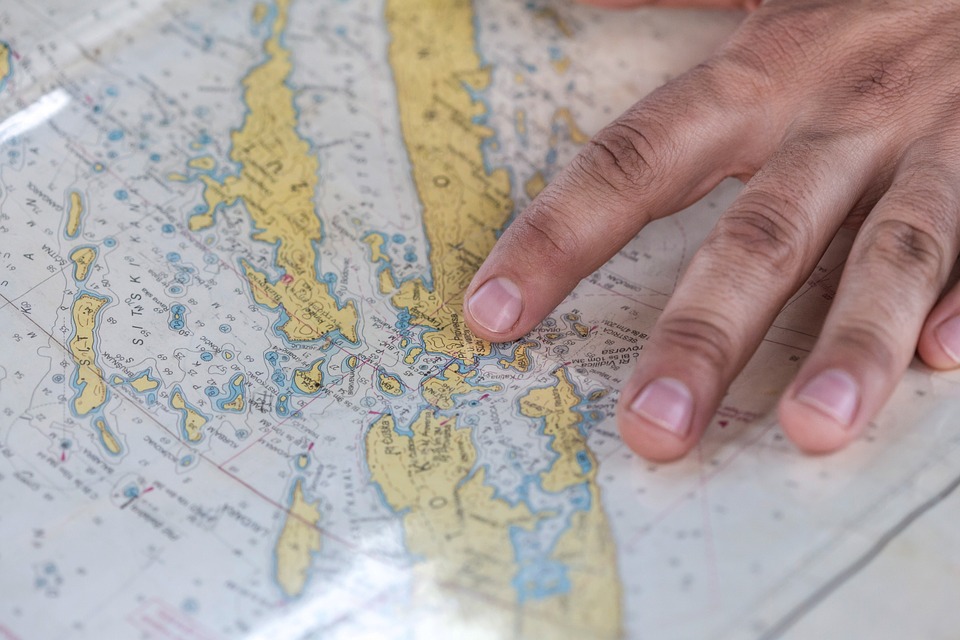
To get started make sure you have an up to date sea chart at hand, these charts are readily available and cover areas all across the world. Some charts can cover an entire country, with surrounding seas, close up views, estuaries and more - of course depending on the type of chart that you're looking for. But most importantly, when selecting your chosen sea chart make sure that it covers all of the areas that you're sailing in so you can plot your course as accurately as possible.
A parallel plotter is mounted on an aluminium roller assembly, and lets you plot courses and/or parallel lines through a simple direct transfer - without the larger space needed by traditional parallel rules or triangles. The two rollers keep the plotter parallel to the chart as you slide it. It's one of the most popular chart instruments and is widely used by shore-based instructors, RYA practical and general leisure users.
Conventional dividers are again a widely used plotting tool that will aid you in measuring distance. There are multiple versions of dividers available with singlehanded dividers being one of the easiest to use, these have 'bow' pattern arms that cross over so they can easily be adjusted with one hand.
Pencils
Whilst simple, a standard soft pencil is the best tool for plotting your course, it can easily be rubbed out if a mistake is a made and they're kind to your chart work, meaning that the same chart can be used again if needed. Special chart correction pens are also available, but aren't as good at correcting any mistakes.
How To Plot Your Course
Now you have your chart plotting tools to hand, it's time to plot your course!